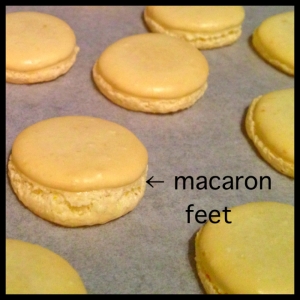
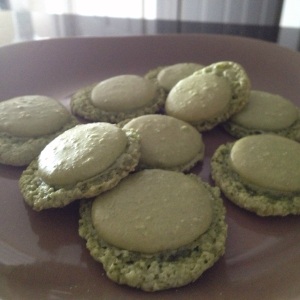
As I continue to master the macaron, something strange (and terribly annoying) started happening – I started getting hollow macarons! <Insert sad face here>
I don’t know what exactly changed. It could be that the weather fluctuates so much in my city which causes rapid changes in humidity (which affects baking, or so I’m told). When I first started baking french macarons, they were just right. My macarons were full and chewy on the inside, and crisp on the outside.
But then, one day, I started getting hollow macarons. The large pocket of air inside each macaron made my macarons very fragile. My poor hollow macarons lacked the full, chewy goodness that macarons are supposed to have.
I researched this problem and found out that I’m apparently not the only person who has encountered this annoying issue. Many bloggers have documented this issue and have found their own ways of troubleshooting it. I’ve tried some of their troubleshooting tips, and after four attempts, found a way to deal with the hollow macaron fiasco that was occurring in my kitchen.
Here are the things that I started doing differently:
- Use a stainless steel bowl to whisk the egg whites and sugar, instead of using a plastic bowl. Plastic bowls are porous, thus they don’t allow the meringue to reach its full volume.
- Add just a pinch of cream of tartar to the egg whites before whisking. This will stabilize the meringue.
- Cut down on the whisking time. Instead of whisking the egg whites and sugar for a total of 5 minutes, I cut the time down to 3 minutes, thus whisking in less air into the meringue.
- Lower the oven temperature to 275°F and bake the macarons for an extra 2 minutes. If the macarons become too hot too quickly, the top will puff up quickly, but the bottom part doesn’t rise to produce the perfect feet that you want.


You must be logged in to post a comment.