
Several years ago, I got this recipe from a family friend. However, they weren’t willing to fully reveal the entire recipe, thus I’ve had to experiment many, many times before I finally figured out the correct portions and oven temperature. I love this recipe because it’s simple and inexpensive to make. Since this is a single-serving, you can bake this in your toaster oven.
This is also a gluten-free recipe for all my friends who have gluten allergies.
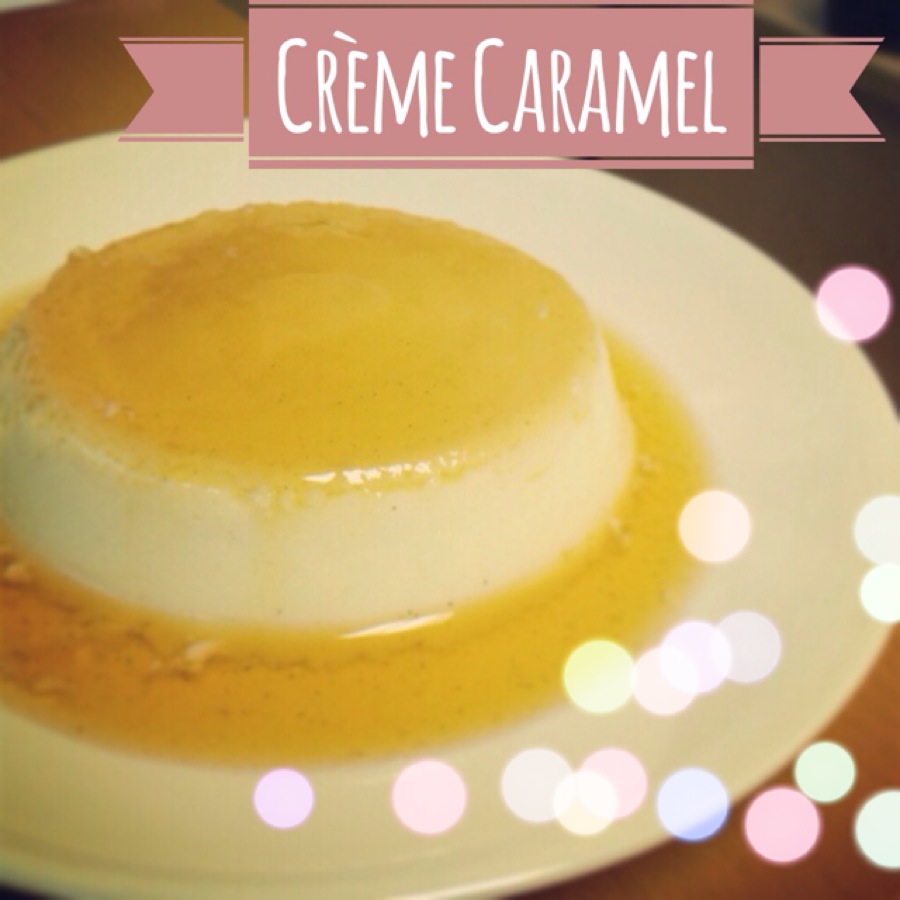
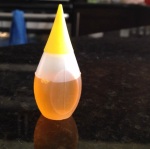
crème caramel
Ingredients
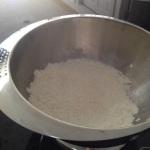
- 4 tbsp fine sugar
- 1 large egg
- 110 mL whole milk
- 1/4 tsp vanilla extract
- 3/4 tsp water
Directions
- On medium-low heat, warm up milk in a small saucepan. Slowly add 2 tbsp of sugar and stir until the sugar has melted. Remove from heat. (DO NOT BOIL THE MILK.)
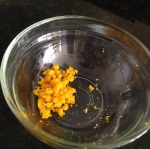
- In another small saucepan, cook 2 tbsp of sugar with 3/4 tsp of water. The water will evaporate and the sugar will eventually burn and melt into a thick, golden brown caramel. Quickly pour the caramel into a 10 oz ramekin.
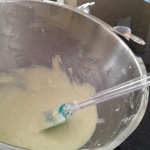
- In a small bowl, gently beat the egg and vanilla extract until well blended (about 10 seconds). Remove excess foam with a tea strainer.
- Pour the cooled milk into the egg mixture and stir gently.
- Pour the milk and egg mixture into the ramekin, over the hardened caramel.
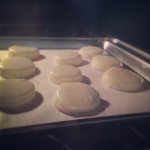
- Bake at 325°F for 20 minutes, then turn the temperature down to 275°F and bake for 25 minutes.
- Remove from heat. Once the crème caramel has cooled to room temperature, place it in the fridge overnight and serve chilled. Remember that the caramel sauce is hidden at the bottom of the ramekin.

crème caramel


You must be logged in to post a comment.