I have a confession to make… I hate making my own caramel sauce.
So, I use the store-bought caramel sauce because it’s cheap and convenient. I don’t think it makes sense to make a mess in my kitchen to make something that I can buy easily. I did the math in my head and realized that it costs about the same to buy caramel sauce vs. making it at home.
I’m not sharing a recipe this time as there are plenty of great salted caramel french macaron recipes available on the interwebs. I just want to say that there’s no shame in cheating when it comes to baking. It’s all about the noms and these macarons are mega noms.
As I continue to master the macaron, something strange (and terribly annoying) started happening – I started getting hollow macarons! <Insert sad face here>
I don’t know what exactly changed. It could be that the weather fluctuates so much in my city which causes rapid changes in humidity (which affects baking, or so I’m told). When I first started baking french macarons, they were just right. My macarons were full and chewy on the inside, and crisp on the outside.
But then, one day, I started getting hollow macarons. The large pocket of air inside each macaron made my macarons very fragile. My poor hollow macarons lacked the full, chewy goodness that macarons are supposed to have.
I researched this problem and found out that I’m apparently not the only person who has encountered this annoying issue. Many bloggers have documented this issue and have found their own ways of troubleshooting it. I’ve tried some of their troubleshooting tips, and after four attempts, found a way to deal with the hollow macaron fiasco that was occurring in my kitchen.
Here are the things that I started doing differently:
Use a stainless steel bowl to whisk the egg whites and sugar, instead of using a plastic bowl. Plastic bowls are porous, thus they don’t allow the meringue to reach its full volume.
Add just a pinch of cream of tartar to the egg whites before whisking. This will stabilize the meringue.
Cut down on the whisking time. Instead of whisking the egg whites and sugar for a total of 5 minutes, I cut the time down to 3 minutes, thus whisking in less air into the meringue.
Lower the oven temperature to 275°F and bake the macarons for an extra 2 minutes. If the macarons become too hot too quickly, the top will puff up quickly, but the bottom part doesn’t rise to produce the perfect feet that you want.
Ahh… The refreshing tart taste of lemon! I made a large batch of lemon macarons for family and friends, and everyone loved them. Compared to the strawberry matcha macarons recipe that I’ve already shared, this lemon macaron recipe is a little less intimidating for the beginner macaron baker.
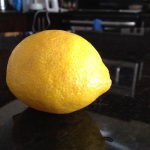
First of all, I love anything citrus. I think I’ll eventually change up this recipe to become a Citrus Blend Macaron recipe, with hints of grapefruit, lime, and orange. But for now, let’s just go with a simple lemon macaron recipe. Lemon is a very powerful fruit so you won’t need a lot of it for this recipe.
large lemon
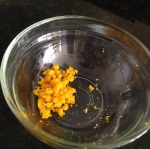
lemon zest
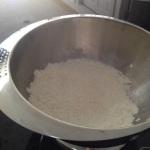
dry ingredients
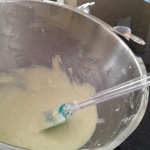
macaron batter
food coloring
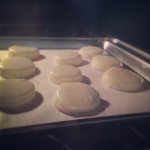
in the oven
freshly baked
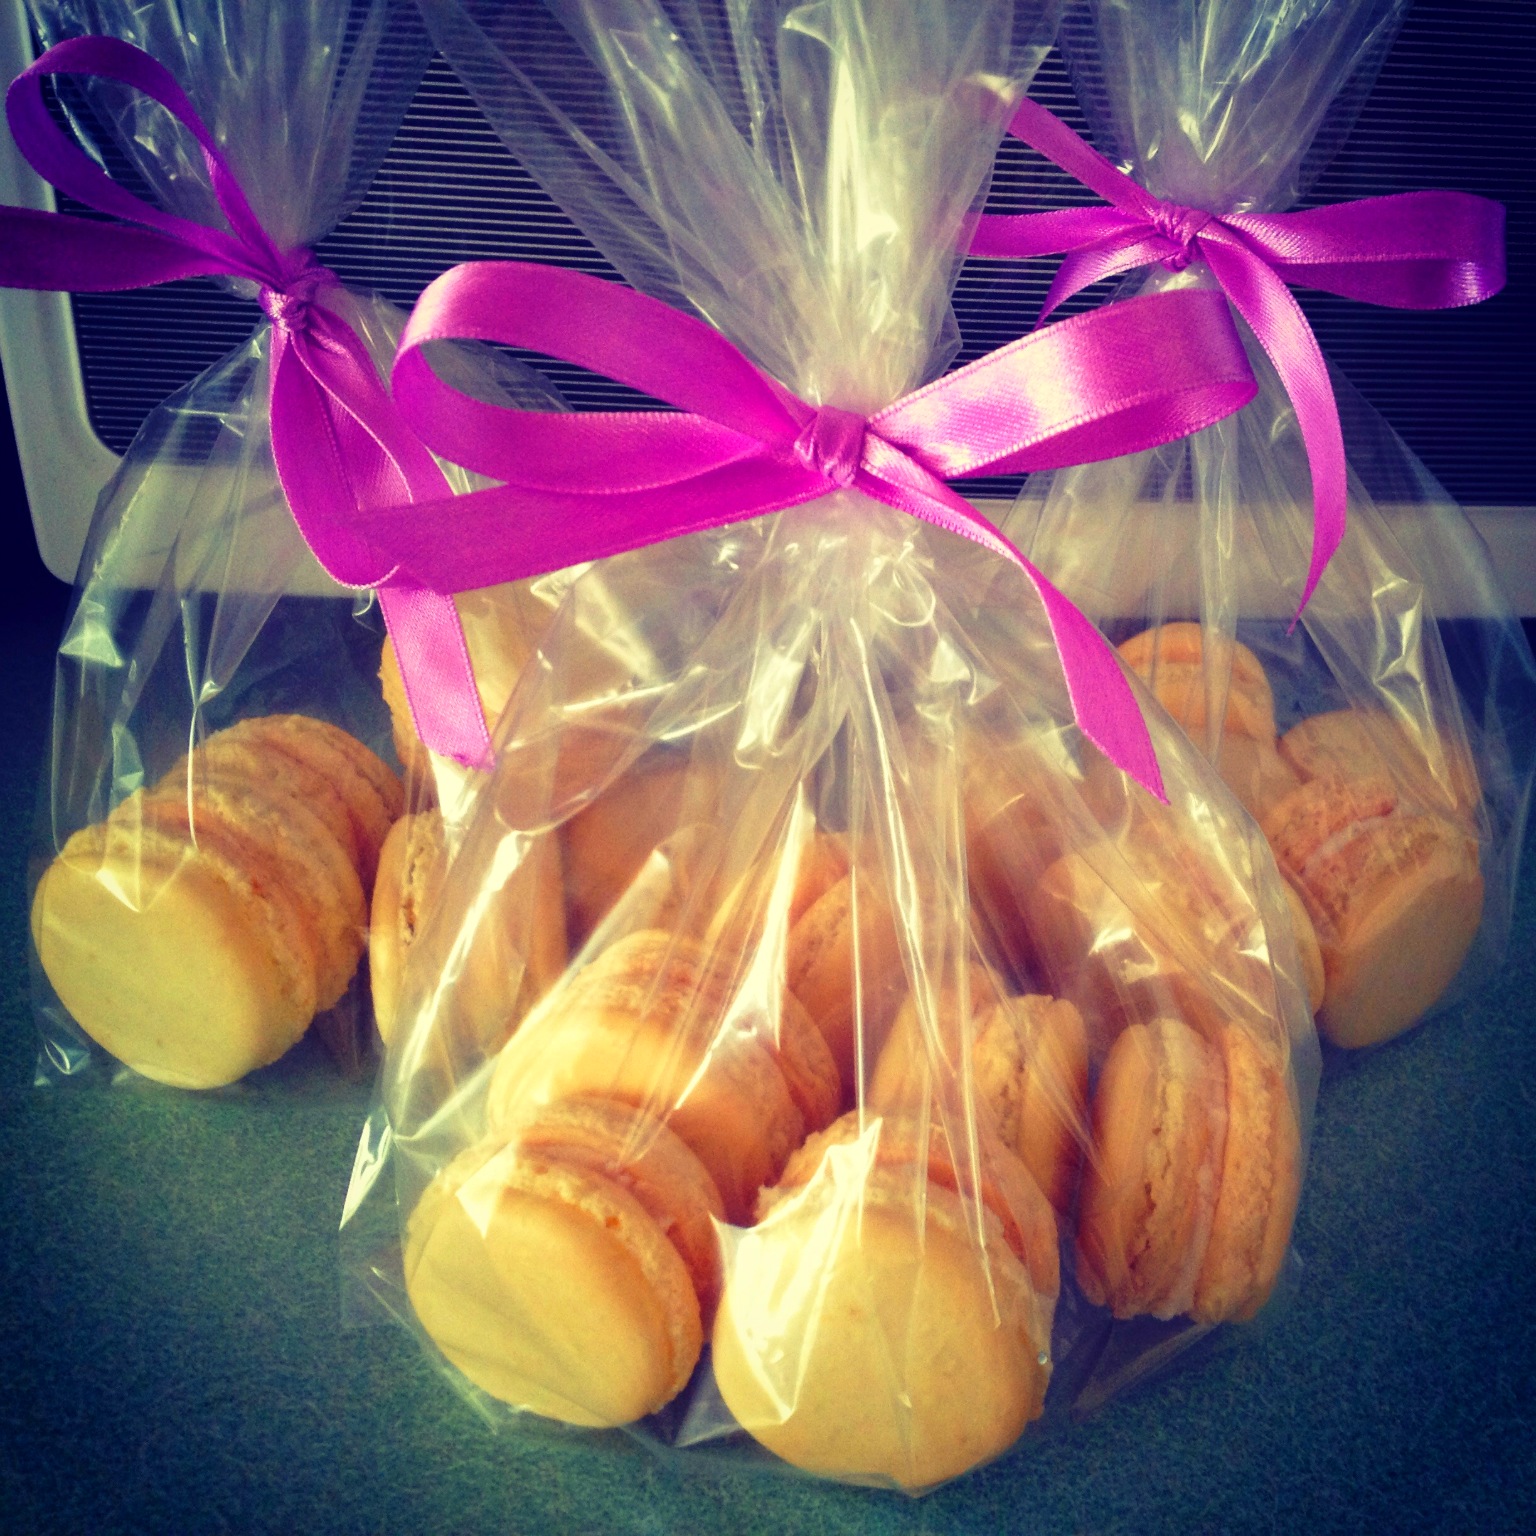
lemon macarons
Ingredients:
Macaron shells
1 cup icing sugar
3/4 cup ground almonds
2 large egg whites
3 1/2 tbsp granulated sugar
lemon zest from one large lemon
3 to 4 drops yellow food coloring
Lemon icing
2 tbsp unsalted butter
1/8 tsp vanilla extract
3/4 icing sugar
1 1/2 to 2 tsp lemon juice
Directions:
Macaron shells
Line two medium baking sheets with parchment paper.
In a food processor, process ground almonds and icing sugar for about a minute. Scrape along the inside of the food processor in between to ensure that there aren’t any large clumps and that the two ingredients are mixed well.
In a medium bowl, sift the almond mixture.
In a small bowl (be sure to use a bowl that’s not too shallow), whisk the egg whites with a handmixer on medium-low speed for about a minute until light and fluffy.
Increase the speed to medium-high and continue to whisk the egg whites until medium-stiff for about 2 minutes. (If you turn the bowl upside-down, the egg whites don’t slide out.)
Gradually add granulated sugar to the egg whites while continuing to whisk on medium-high speed for another 2 minutes.
Gradually fold the egg mixture into the almond mixture, adding only about 1/3 of the egg mixture at a time.
Add lemon zest and fold.
Add yellow food coloring and fold again. (I use liquid food coloring, but most people recommend gel or powder-based food coloring. You should use whatever you’re comfortable with.)
Transfer the batter into a piping bag. (Or if you’re frugal like me, you can use a medium sandwich bag instead and just cut a tiny corner of the bag to pipe.)
Pipe batter onto baking sheets. Try to pipe small rounds that are just under 1 inch wide and at least 1/2 inch apart.
Preheat oven to 325°F. Let the batter sit at room temperature for about 15 to 20 minutes.
Turn the oven down to 300°F and put the baking sheets into the oven for 7 minutes.
Rotate the baking sheets and bake for 8 minutes.
Remove the baking sheets from the oven and allow the macaron shells to cool.
As I continue my quest to become a macaron master, I came across many recipes that instruct you to age the egg whites prior to whisking them. What that means is you separate the yolks from the whites, put the whites back into the fridge (covered or uncovered), and then leave them for at least 24 hours. Then, you take the egg whites out and let them sit on the kitchen counter until they reach room temperature before you use them. They say that this process of aging the egg whites is to ensure that your macaron shells develop “feet” when you bake them. Macaron feet are the risen part of the macaron, as shown below.
macaron feet
I’ve tried this process of aging the egg whites, and it did not work out for me at all. It could be due to a number of factors, such as the temperature in my fridge, the oven I’m using, or the way I whisk the eggs. Whatever the reason might be, when I tried aging the egg whites, my macaron shells ended up looking like this:
epic fail
MONSTROUS FEET! ZOMGS! I give myself an E for Effort (or E for Epic fail).
Yeah, that’s not the look I’m going for…
Maybe the egg white aging process works for some people, but I ended up with hideous-looking macaron feet. On the other hand, my macarons look just fine when I simply take the eggs out of the fridge, separate the yolks from the whites, and use the whites immediately.
Have you tried aging your egg whites? How did your macarons turn out?


You must be logged in to post a comment.